
Confession time: This DIY project is about a year old, which
makes me feel somewhat guilty sharing it with you (especially since it’s only
Day 2), but there’s a reason, I promise! Hand knit gifts are something of a
Christmas essential. They’re warm, cozy, and generally nice looking. Plus,
knitting or crocheting is one of those talents that everyone admires, and
getting something made just for you that took a lot of skill and thought is
wonderfully heartwarming.
But back to my reason for this recycled DIY idea: knitting
takes TIME. Of course, the more experienced you are the faster you can produce,
but on average a scarf can take 3-4 weeks to finish. That’s why I’m sharing
with you a fairly simple knitting pattern for a scarf I already made—so you
have time to make one yourself before Christmas! Lest you think I’m getting off
scot free today, I will be making a different scarf for someone as a Christmas
gift--I’m still waiting for the yarn to arrive in the mail. I’ll update you at the end with the scarf I’ll be
working on, just to prove to you I’m not
a lazy bum. =)
The Shopping
List:
2-4 Skeins of
Medium to Chunky Weight Yarn (whichever brand/color you prefer, I like this pattern in a natural wool with black “wires” sticking out, because it reminds me of a
Nordic scarf you’d find in Northwestern Europe. Coincidentally, Nordic Mart makes excellent quality yarn. )
Pair of
Straight Knitting Needs size 8 to 10
Knitting
Needle Caps (optional)
This pattern
is unbelievably adjustable. The scarf shown below was for my dad, who insists
that manly scarfs must be enormous (I, on the other hand, think this one was
too big for him…but he loves it, which is all that matters). He wanted a chunky
weight yarn, with a 40 stitch cast-on. At the time I only had size 9 needles,
so that’s what I used, but 10 would make it easier.
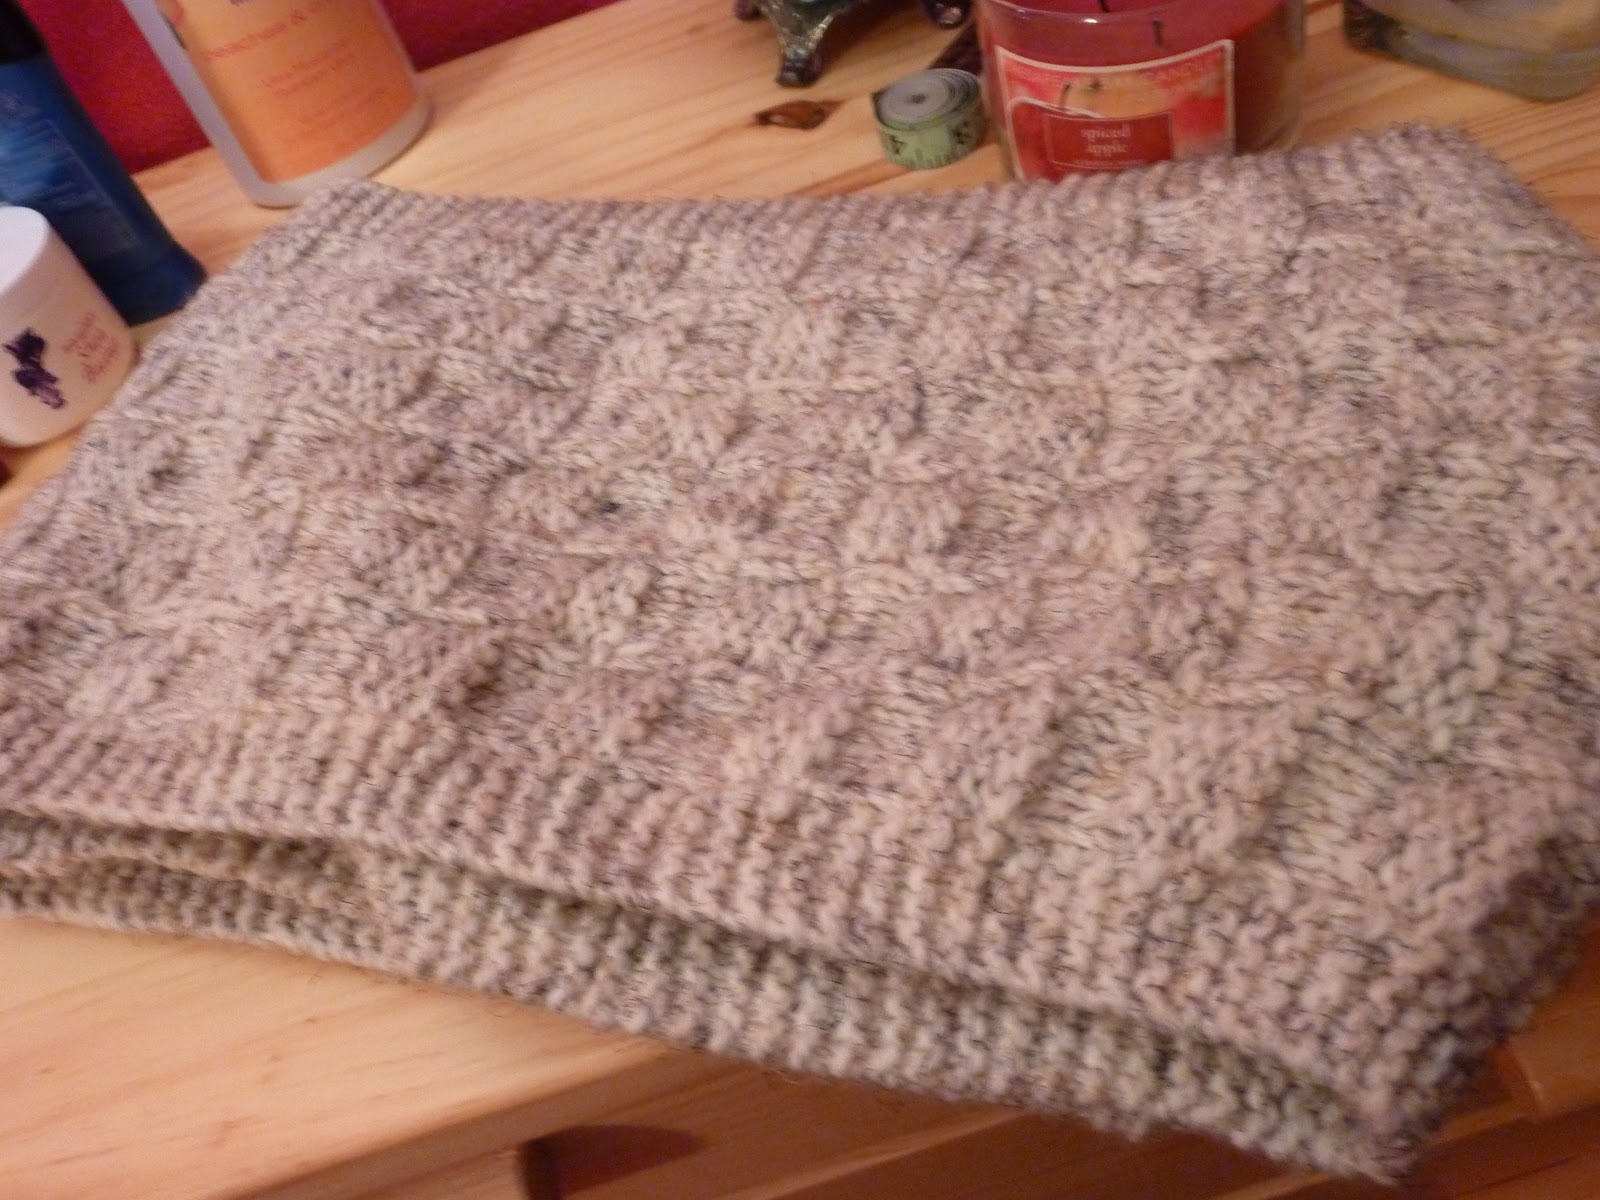
This other scarf
is the same basic pattern (and yarn color), but was made for the average human being who enjoys normal sized scarves. It’s made with a medium weight yarn,
and has a 27 stitch cast on. It was knit with size 8 needles. This weight of
yarn and size of needles is what I recommend you use.

As you can
see from the first two pictures, both scarfs have a different “square” size. The weight of yarn you
choose/needle size doesn't really affect which size square you need to choose,
so if you like the bigger square but want a smaller yarn, go for it. The only
think you need to keep in mind is that the size of the square you want
determines how many stitches (and therefore the width of the scarf) you cast
on. You want to make sure you cast on in multiples of the square size. So, for
example, if I wanted to have squares that were 5 stitches by 5, I’d cast on 25
or 30 or 35, etc. The pattern below is for 3 stitches by 3 stitches (as seen in
the smaller scarf photo).
Cast on 27
stitches, knit wise (I prefer the long tail cast on)
Knit the
first three rows (this will create a nice border that you will continue in
every row by starting and ending with three knit stitches)
Rows 4-6: Knit
3 *Pearl 3, Knit 3, repeat from * until last three stitches, Knit 3
Rows 7-9:
Knit 3 *Knit 3, Pearl 3, repeat from * until last three stitches, Knit 3
Continue
pattern of rows 4-9 until you've reached your desired length. Knit three more
rows to finish border and bind off. A useful tip is to wash the scarf (I
usually like to do this by hand—just in case) and let it dry before trimming
the tails. This helps the fibers to fuse together and helps prevent the
possibility of the scarf fraying in that corner…or unraveling. =/ I hope you enjoy
the pattern!
22 Days
until Christmas !
No comments:
Post a Comment